Grandma’s Very Best Butter Pie Crust
(This article may contain affiliate links and advertising. As an Amazon Associate, this site earns from qualifying purchases. Read our privacy policy.)
What is the secret to a good pie crust? BUTTER of course. While it won’t make as perfect of a shape as shortening, the taste is beyond comparison. Trust me. You will never go back. Butter pie crust is best.
So what does butter do in pie crust? Besides the incomparable flavor it adds compared to shortening, it also makes it incredibly flaky and tender. A more rustic looking pie with a delicate butter pie crust, topped with some vanilla bean ice cream….the stuff of all of our nostalgic dreams.
Ingredients
The ingredients are very simple but quality definitely counts. While you can certainly use all-white flour, it’s also really good with fresh ground whole wheat flour (our secret ingredient). If you try this version, make sure your flour is white winter wheat and very freshly ground.
This flour pictured was today’s grind. Use one cup unbleached white organic flour and half cup freshly ground whole wheat flour. Fresh whole wheat flour is an entirely different texture and taste than the typical dry and rough whole wheat flour–you will find your breads are softer and rise higher. Try some home grain mill options here at Pleasant Hill Grain!
My grandma was…and now mom is….a master of this art of butter pie crust. My earliest memories are of my Slovak grandma grinding flour, kneading it on the counter while we sat on the stools, and then pulling caramel pecan rolls out of the oven while we all turned into monsters and inhaled them. I love fresh flour, kneading bread, and pastry. My Old Kitchen smells like childhood and happy things.
- Flour
- Salt
- Butter
- Water
Why make your own butter pie crust?
Because it’s BETTER. It’s so much better it’s worth all the work, but it does take a little practice. My mom is teaching me this butter pie crust from my grandma, the dreams of my childhood. Sometimes we forget the generational cooking skills and recipes, and it’s part of our heritage that we can’t afford to lose.
How to make the butter pie crust:
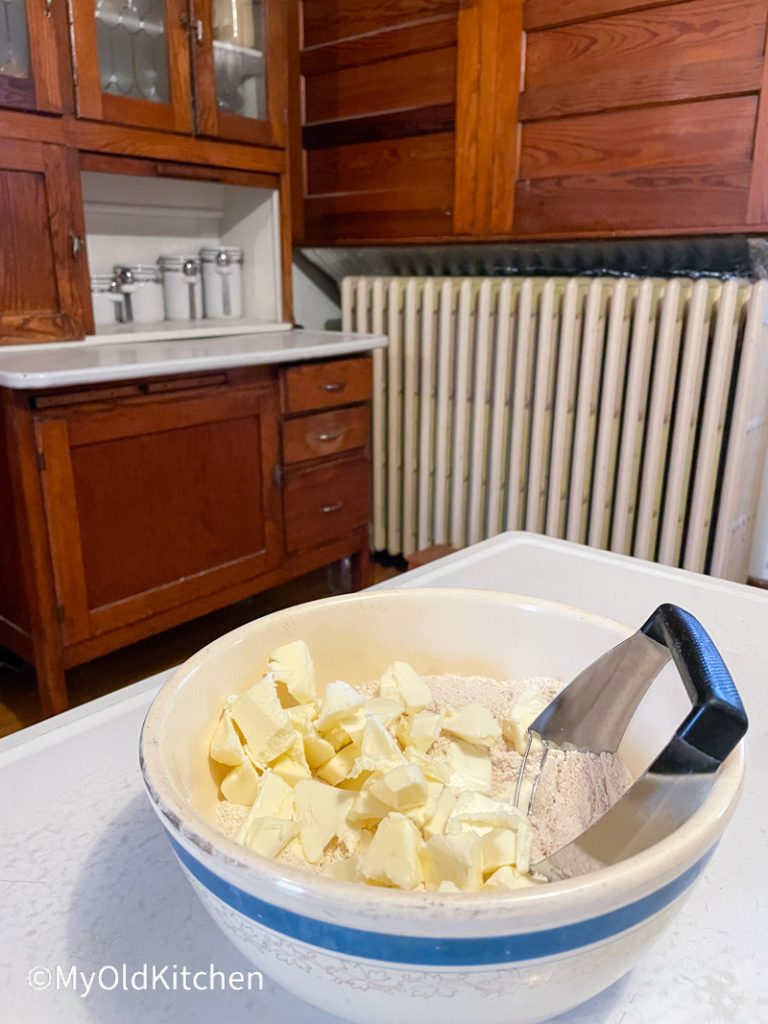
First, mix your dry ingredients together, then cut in the cold butter. Try not to over-handle it, because the butter should stay as cold as possible for ultimate flakiness. Use a pastry cutter to mix most of it, but then crumble it into fine crumbs in your fingers at the end. Pack the mixture flat into the bowl and use a knife to divide it exactly in half–for top and bottom crust.
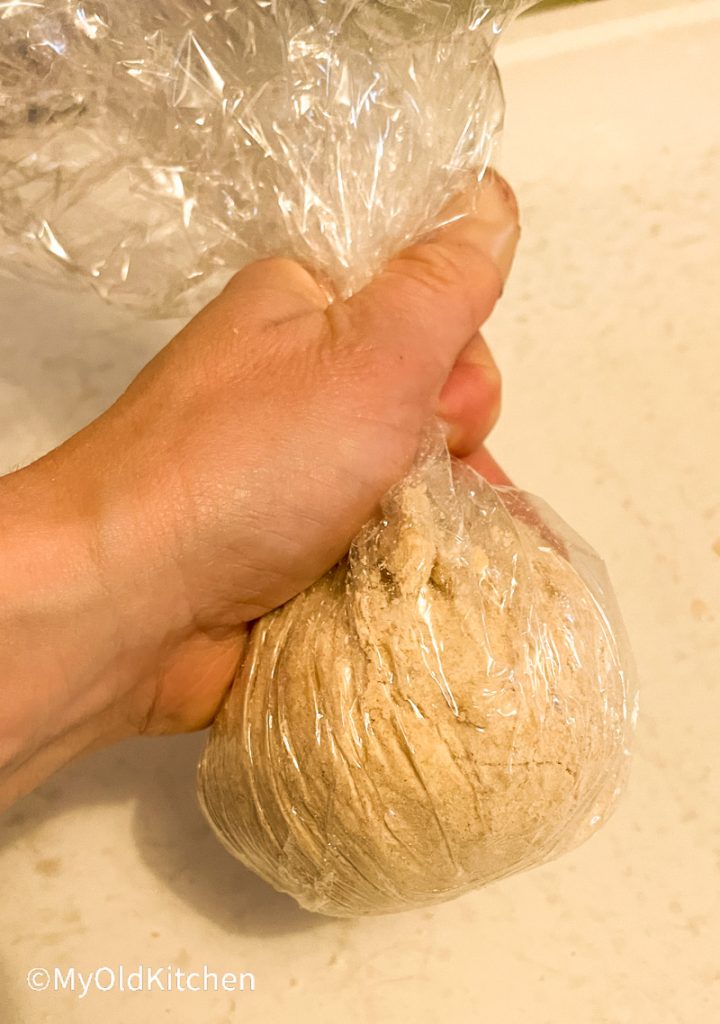
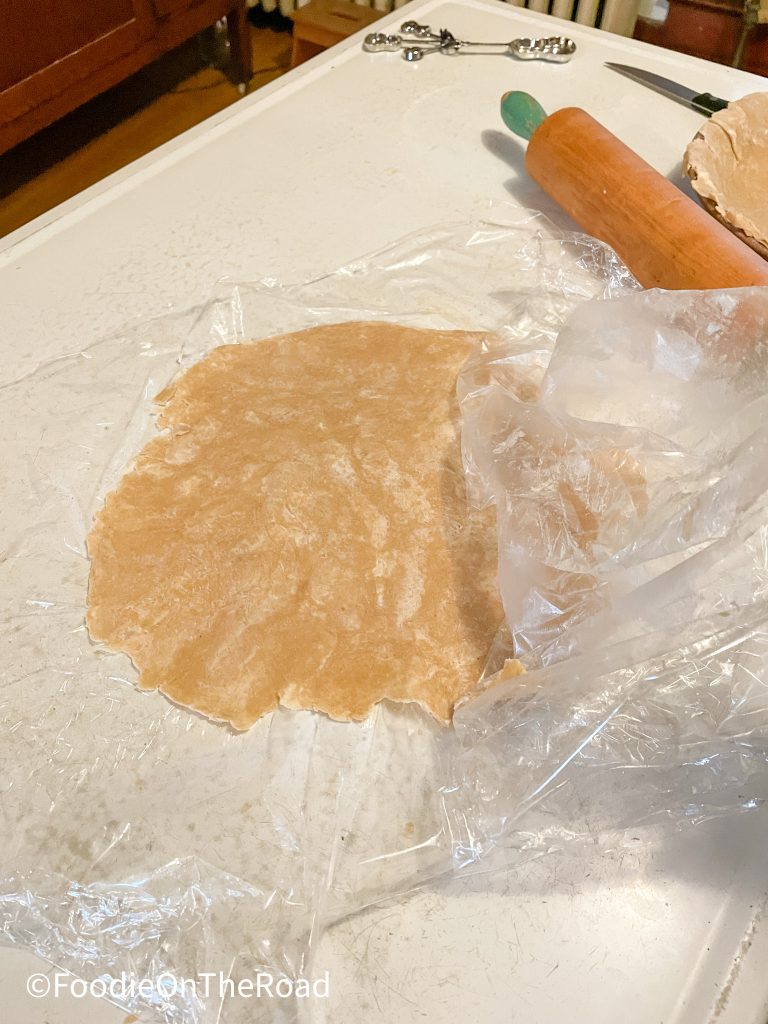
Everyone has a different method for rolling out pie crust, but here’s our secret: plastic wrap. Lay two large pieces on the rolling surface–like my antique enamel top table–and place half the crust mixture in the middle. It’s going to be very crumbly. Bring the edges of the plastic wrap up to form a bag, and twist it tightly around the crust mixture until you get a tight packed little ball of crust dough.
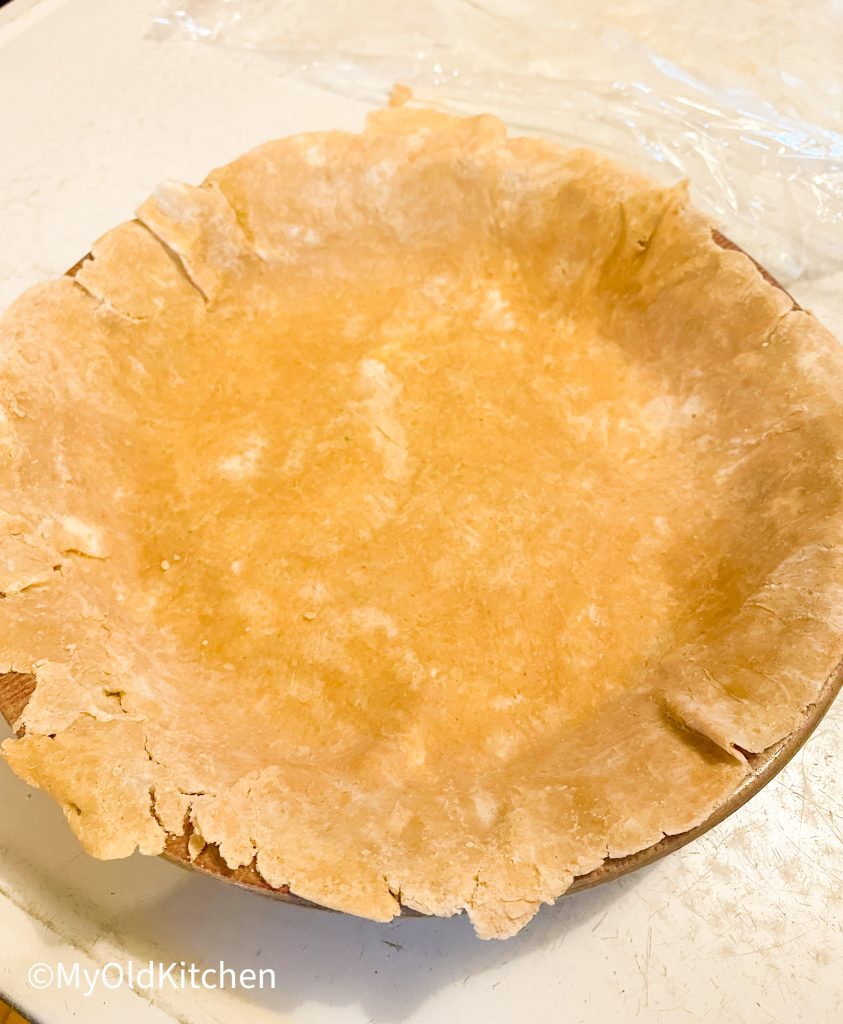
Unwrap the ball and lay the plastic wrap down again on the table with the ball in the center, and lay another two overlapping pieces over it sandwich-style. Roll the dough inside the plastic wrap until it is extremely thin and as close to perfectly round as you can get. Peel back the plastic wrap from the top side, slide your hand under the bottom side, and quickly reverse it into the pie pan. Once it is evenly draped on all sides, peel off the plastic wrap. This crust is not baked until it is all assembled.
Prepare your filling, any kind you like. We use this recipe to make apple pie, chicken pie, any sort of berry pie! Fill the pan to heaping over the unbaked lower crust. Repeat the plastic wrap procedure to pack and roll out the upper crust in the exact same way. Peel off the upper plastic wrap, slide your hand under, and reverse it onto the top of the filled pie. Peel off the other layer of plastic wrap.
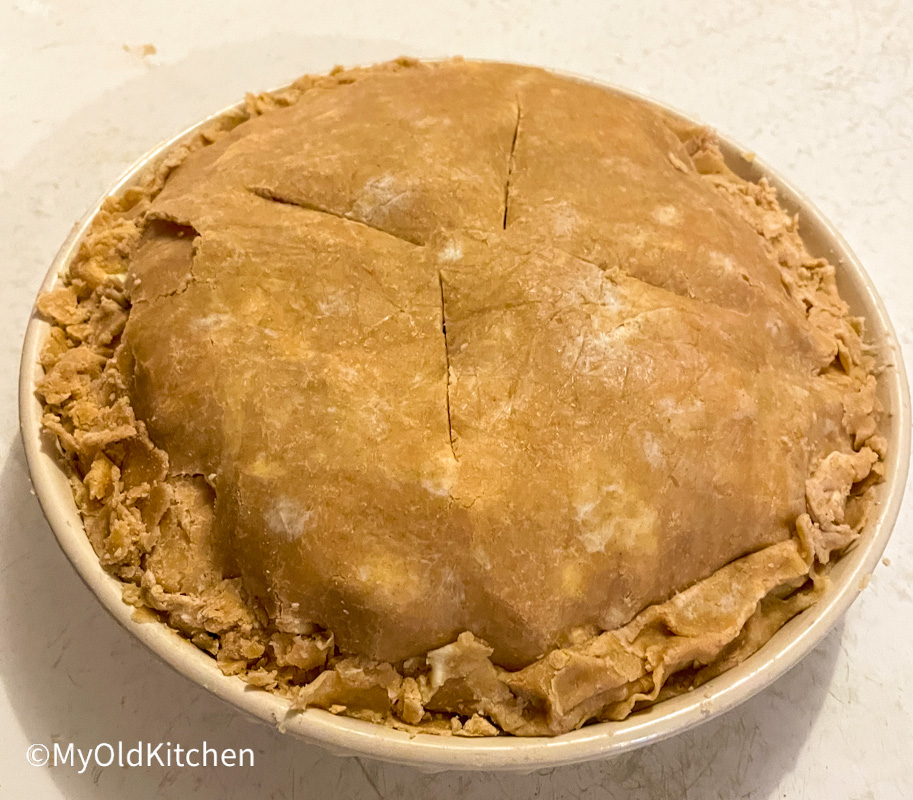
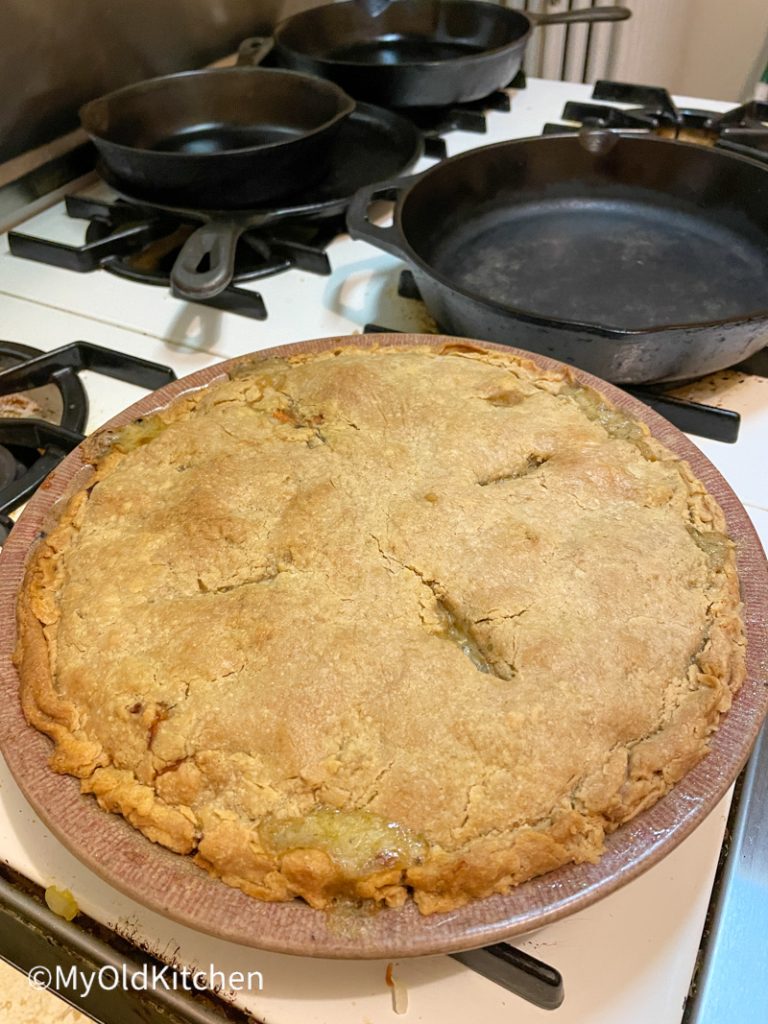
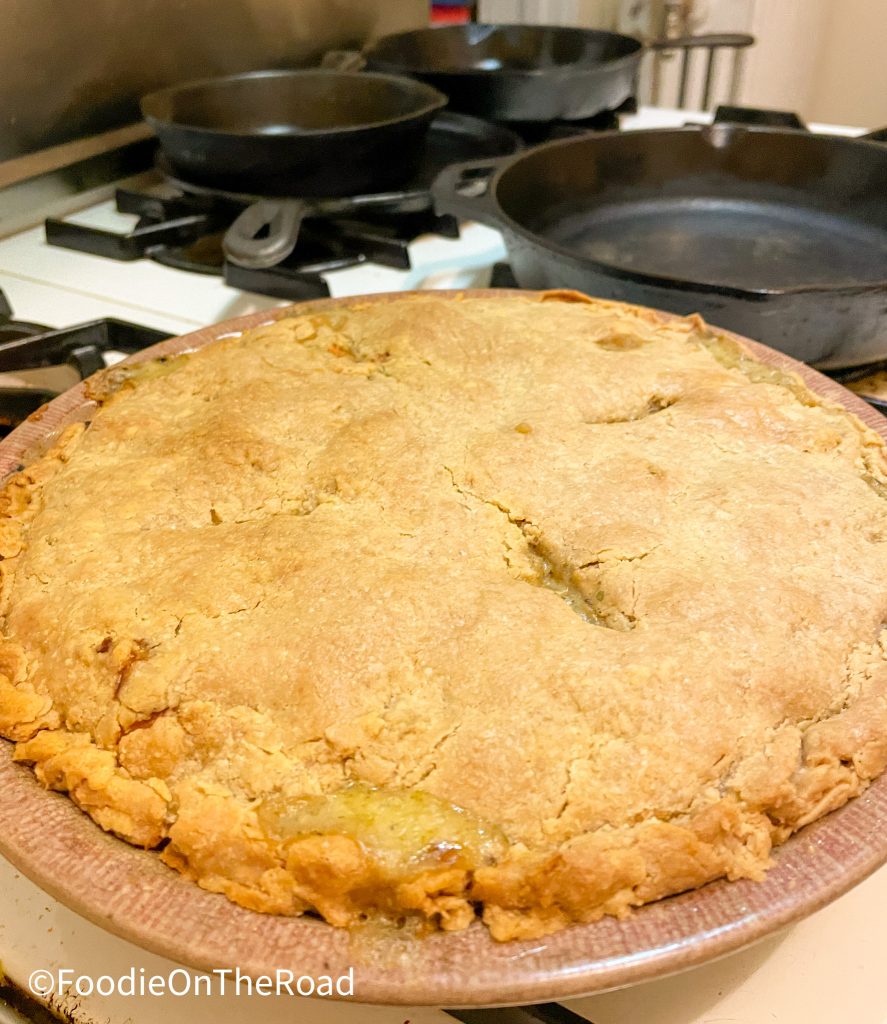
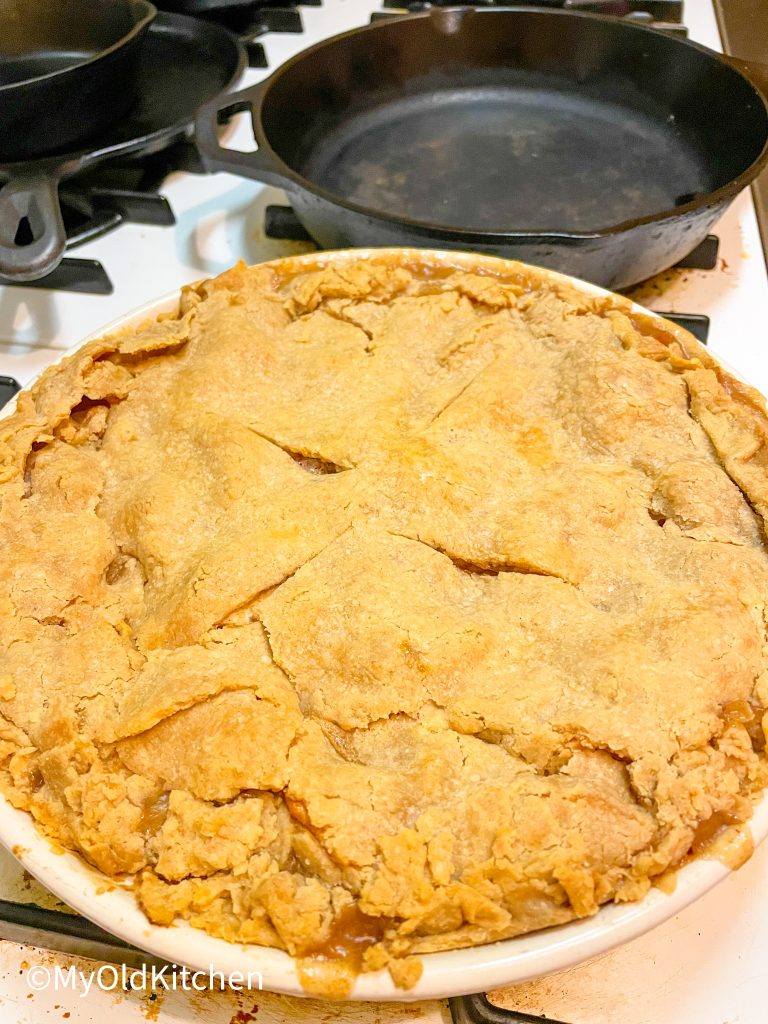
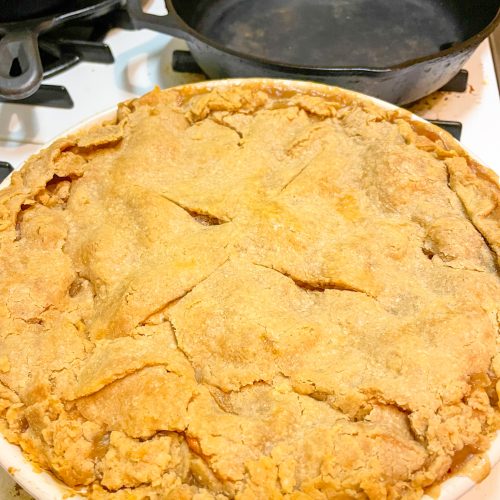
Now to make it pretty–fold the bottom crust over the top crust and crimp the edges with your fingers. These won’t come out as neatly as a shortening crust pie, but it doesn’t matter. The goal is a more rustic looking pie with delicate texture and amazing flavor. Cut four vent slits in the top for baking.
Baking the Pie
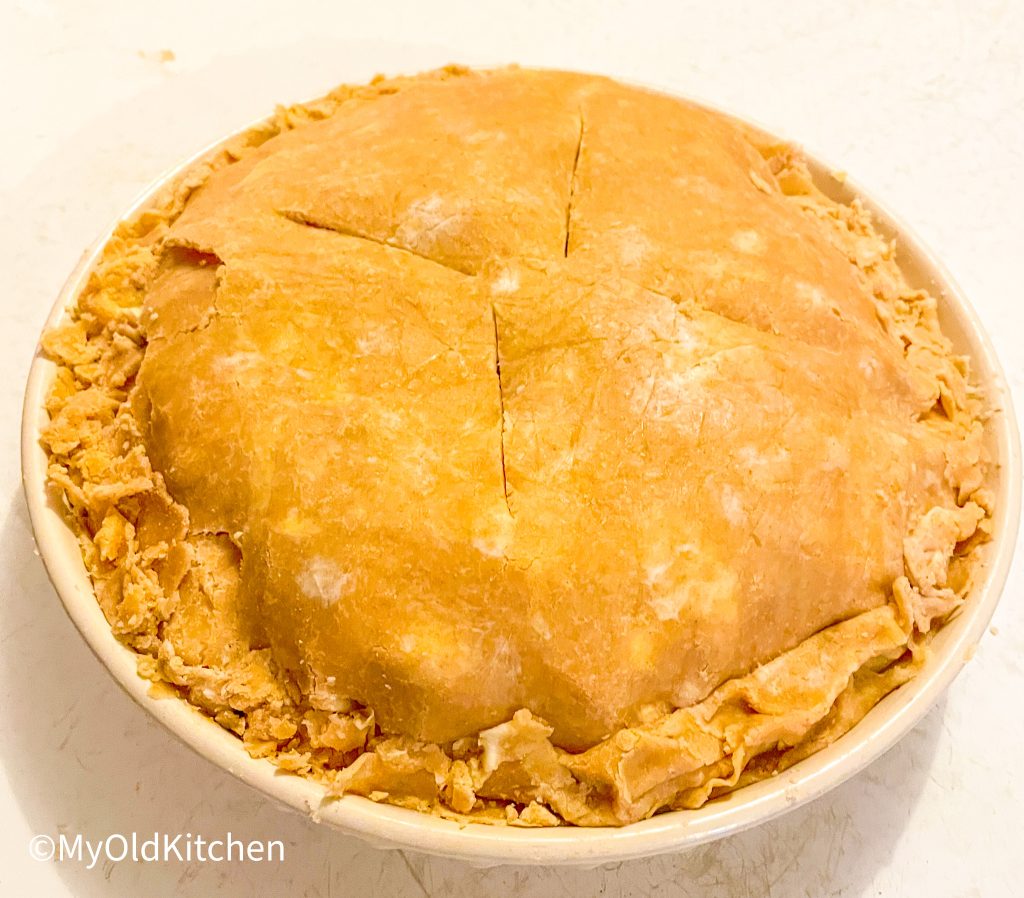
This works best at about 350F but do test your oven to make sure it’s accurate at that temperature. Place a large baking sheet on the rack beneath the pie (not directly under the pie pan) to catch any overflow of filling during baking. Ours has a lot of filling and usually we like it softer textured, so it usually cooks 45-60 minutes depending on how cooked you would like the filling and how golden brown the top.
Wrapping up!
While traditional butter crust pie is becoming a lost art, it’s so worthwhile to revive it! Once you taste it, you’ll never go back. It takes just a bit of practice, but it will raise your pies of any type to the next level of tasty. These are the pies of legend! Thank you, BUTTER! And thank you most of all to first grandma and then mom, for passing down the Art of Pie. Hint…try this as the base for our wonderful Grandma’s No. 1 Most Delicious Butter Apple Pie
Grandma’s Best Butter Pie Crust
Equipment
- 1 Pie dish ceramic or glass for more even cooking
- 1 Rolling Pin wood, large
- 1 large mixing bowl fill to 3/4 of apple pieces
Ingredients
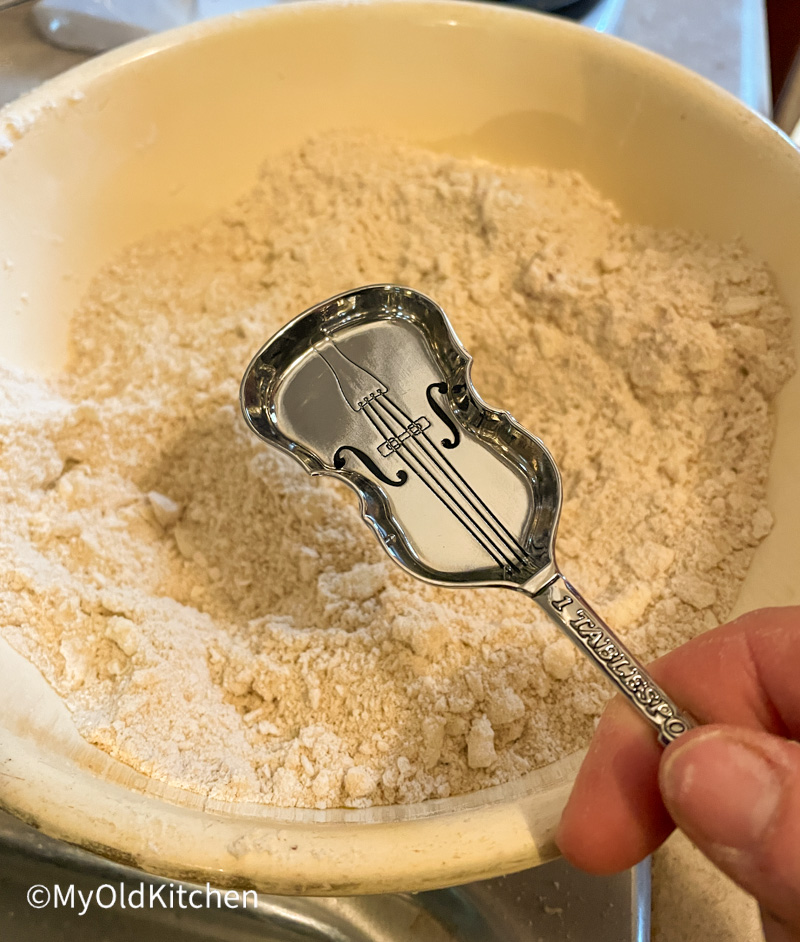
- 1.5 cup Flour can replace 1/2 cup white with 1/2 cup wheat
- 3/4 tsp Salt
- 1 stick Butter
- 2 tbsp Water
Instructions
- First, mix your dry ingredients together, then cut in the cold butter. Try not to over-handle it, because the butter should stay as cold as possible for ultimate flakiness. Use a pastry cutter to mix most of it, but then crumble it into fine crumbs in your fingers at the end. Pack the mixture flat into the bowl and use a knife to divide it exactly in half–for top and bottom crust.
- Lay two large pieces on the rolling surface and place half the crust mixture in the middle. Bring the edges of the plastic wrap up to form a bag, and twist it tightly around the crust mixture until you get a tight packed little ball of crust dough.
- Prepare your filling, any kind you like. Fill the pan to heaping over the unbaked lower crust. Repeat the plastic wrap procedure to pack and roll out the upper crust in the exact same way. Peel off the upper plastic wrap, slide your hand under, and reverse it onto the top of the filled pie. Peel off the other layer of plastic wrap.
- Fold the bottom crust over the top crust and crimp the edges with your fingers. Cut four vent slits in the top for baking.
- Place a large baking sheet on the rack beneath the pie (not directly under the pie pan) to catch any overflow of filling during baking. Bake 45-60 minutes at 350F, depending on how cooked you would like the filling and how golden brown the top.